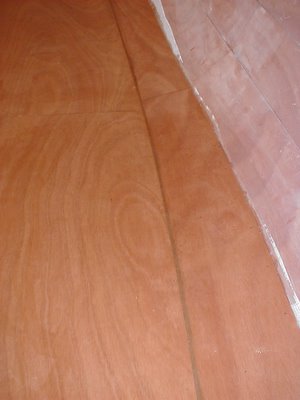
Once back from a morning in the lab, I turned to the task of preparing for glassing the interior. As for the exterior, this involved some sanding. Actually, considerable sanding, in order to clean up some drips of epoxy that had worked through the stitch holes from the exterior. Also, I hadnt yet sanded the scarf joint on the center panel, so that got smoothed out. Once the bottom panel and first strake were clean and ready for glassing, I vacuumed out the interior (I have
got to get a shop vac). Then the joint between the first and second strake was masked with packing tape to protect from epoxy overruns.
I also prepared some other parts for tomorrow. With any leftover epoxy from the glassing operation, I can glass the interior of the daggerboard trunk. Since I had already coated these parts with epoxy, I sanded in down and left a rough finished surface. I trimmed some glass cloth scraps to size. I plan to lay the cloth on the parts, then when the epoxy has reached gel stage, Ill use the daggerboard spacers as a template to trim the edges. Thus, the glass will only be on the interior trunk face, while the overall dimensions of the assembled trunk wont be increased by the thickness of the glass. I also have on hand some other parts, ready to be assembled with excess epoxy. Mainsail boom, mast joint and masthead cap, daggerboard handle, and skeg are ready to go.
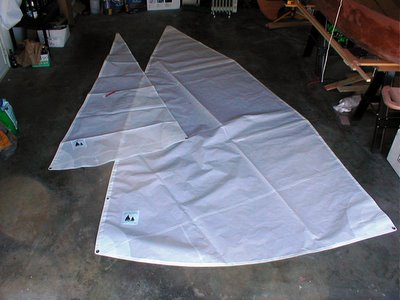
Finally, I checked out the sails: 77 square feet of Dacron (?) cloth, complete with grommets, telltales, and battens. They look great- I cant wait to try them out!
Total hours 44.00.

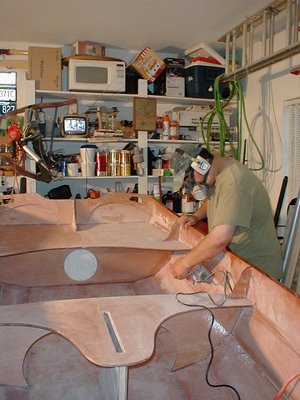 After a tedious and interrupted period, the interior of the Passagemaker is now ready to varnish. Not flawlessly, mirror-smooth. But good enough for my purposes. There remain a few spots to touch up with the finishing 220-grit paper, but for the most part, everything inside the hull is ready for varnish. The next job will be to flip the boat over and get the exterior hull ready for paint. I anticipate that job will go a little faster because of the lack of nooks and corners in the hull exterior. Lets hope.
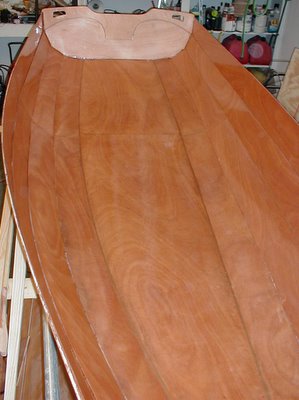 As a miserable, cold rain fell outside, and Team USA struggled against Slovakia in Mens Olympic Hockey, I put the first of two overall coats of epoxy on the interior hull. Even though the strakes had been previously coated or fiberglassed, this overall coat of unthickened epoxy served to seal the inter-strake joints, as well as to fill the weave of the fiberglass on the bottom panels. But first, I spent some time to give a final sanding to the stitch holes that I had previously plugged. This involved sanding the plugged holes, and also the edge of the fiberglass, which although carefully trimmed, was a little ragged in spots. After the prep sanding, I then had to spend time vacuuming and wiping down the surfaces which had become extremely dusty. (Which reminds me, can anyone recommend a good shop vac?) After the cleanup, I applied a coat of epoxy to the entire hull interior, giving special attention to the strake joints. I found that placing the foam roller lengthwise along the joint and pressing would squeeze some epoxy into the joint. Then rolling gently over it would give a smooth finish.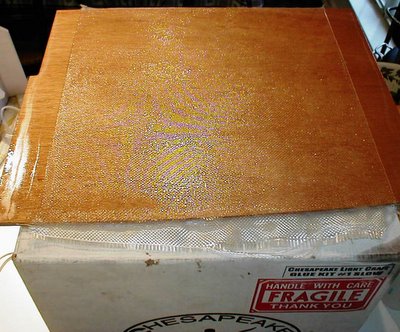
 Once back from a morning in the lab, I turned to the task of preparing for glassing the interior. As for the exterior, this involved some sanding. Actually, considerable sanding, in order to clean up some drips of epoxy that had worked through the stitch holes from the exterior. Also, I hadnt yet sanded the scarf joint on the center panel, so that got smoothed out. Once the bottom panel and first strake were clean and ready for glassing, I vacuumed out the interior (I have got to get a shop vac). Then the joint between the first and second strake was masked with packing tape to protect from epoxy overruns.
 Just ahead of a possible rare snowfall in the Birmingham area, I finished the job of glassing the interior of the boat. The first step was to apply a fillet of wood flour-thickened epoxy to the joint between the bottom panel and the first strake. This filled the gap that existed in some spots, and also created a smooth radius to accommodate the glass cloth. This had to be done carefully and neatly, since it will be visible underneath the cloth and the bright (varnished) finish that will be used in the interior. With the fillet freshly applied, the cloth was laid over the bottom and first side panel and wrinkles were smoothed. At the beam, the cloth is just wide enough to cover. At this point, the unthickened epoxy was mixed, poured, and carefully spread and worked into the cloth. Wrinkles and bubbles were worked out, and the result was satisfactory. I found that I had to keep a watchful eye especially on the joints and stitch holes, as new air bubbles kept appearing underneath the cloth. These are easily removed, but more kept appearing for an hour or so before everything became saturated. In a couple of hours, the epoxy will reach gel stage, and the excess cloth can be trimmed off, as before on the exterior. The third photo below below shows a closer view of the fillet and glassed bottom. For a novice, a decent job. Total hours 46.25.