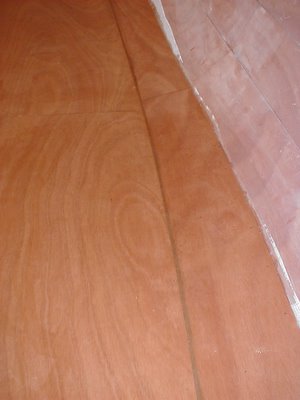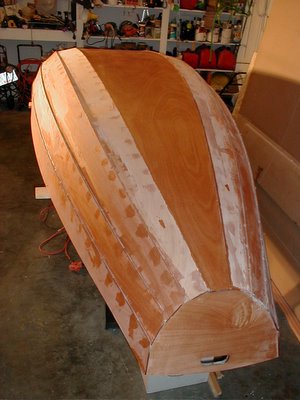
With the fiberglass partially cured, the excess glass cloth was trimmed away. I was fairly happy with the result. There are a couple of tiny bubbles along the edge at the lapstrake joint where air seeped back under the glass, despite my best attempts to work it all out. But these are very small, and in a place where additional layers of epoxy and then paint will cover them well. But overall, I was happy with my first attempt at glassing. In the future, additional coats of epoxy will be applied to the hull to "fill the weave" of the glass cloth. After the trimming, I am left with some long strips of glass cloth, and it seems a shame to discard them. I suppose some can be saved for patches and repairs that might be needed in the future. The idea also occurred to me to glass the leading and bottom edge of the daggerboard, to protect it from possible grounding damage. But the problem with that may be making the part too thick to fit in the daggerboard trunk. Also, it might be hard to fair the glass into the shape of the daggerboard for a smooth hydrodynamic shape. I think I just came up with another question for the experts on the CLC builders forum!
The next step is to trim and finish the transoms, before flipping the boat over for some interior glassing. But that will have to wait for this weekend. Tonight is spent on household chores, and tomorrow, Kathy and I attend an Alabama Symphony concert in honor of Mozarts 250th birthday. Happy birthday, Wolfie!
 Once back from a morning in the lab, I turned to the task of preparing for glassing the interior. As for the exterior, this involved some sanding. Actually, considerable sanding, in order to clean up some drips of epoxy that had worked through the stitch holes from the exterior. Also, I hadnt yet sanded the scarf joint on the center panel, so that got smoothed out. Once the bottom panel and first strake were clean and ready for glassing, I vacuumed out the interior (I have got to get a shop vac). Then the joint between the first and second strake was masked with packing tape to protect from epoxy overruns.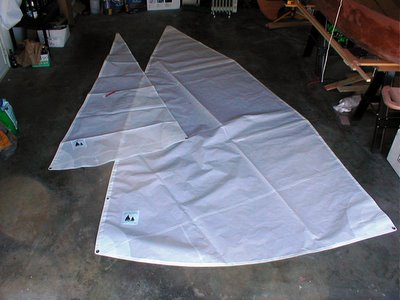
 Just ahead of a possible rare snowfall in the Birmingham area, I finished the job of glassing the interior of the boat. The first step was to apply a fillet of wood flour-thickened epoxy to the joint between the bottom panel and the first strake. This filled the gap that existed in some spots, and also created a smooth radius to accommodate the glass cloth. This had to be done carefully and neatly, since it will be visible underneath the cloth and the bright (varnished) finish that will be used in the interior. With the fillet freshly applied, the cloth was laid over the bottom and first side panel and wrinkles were smoothed. At the beam, the cloth is just wide enough to cover. At this point, the unthickened epoxy was mixed, poured, and carefully spread and worked into the cloth. Wrinkles and bubbles were worked out, and the result was satisfactory. I found that I had to keep a watchful eye especially on the joints and stitch holes, as new air bubbles kept appearing underneath the cloth. These are easily removed, but more kept appearing for an hour or so before everything became saturated. In a couple of hours, the epoxy will reach gel stage, and the excess cloth can be trimmed off, as before on the exterior. The third photo below below shows a closer view of the fillet and glassed bottom. For a novice, a decent job. Total hours 46.25.