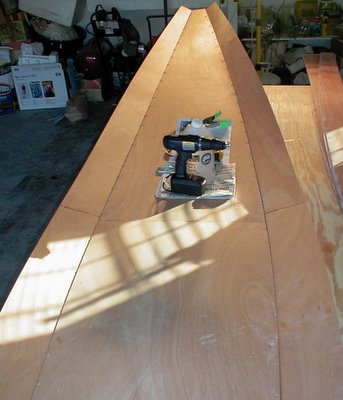
Ahead of epoxy coating the now-glassed interior, stitch holes had to be plugged. I mixed up a small batch of epoxy, and thickened it with wood flour to a peanut butter consistency. The instruction book calls for applying a small dot of epoxy to each stitch hole, using the plastic "piping bag" method. Instead, I opted for a medium size plastic syringe, of which I have collected several from fried turkey marinade containers. The loaded 30 mL syringe made a great dispenser, and I was able to quickly lay a tiny drop on each stitch hole. A quick swipe with a metal putty knife smoothed everything off, ready for the overall coat of epoxy to come. Total hours 47.75.
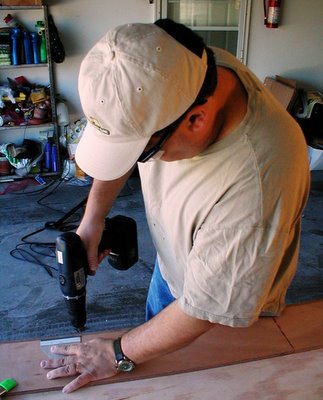 After days of prep work, the hull assembly began today. The method of construction of this boat is called "stitch and glue", meaning the individual parts are wired together before being sealed with epoxy at the seams. First, matching pairs of strakes are stacked up and 1/16" holes are drilled every 4 inches along the rabbet edge. A simple cardboard gage helped space the holes. Once the four pairs of strakes were drilled, stitching began.