Recently at a dinner party, I spoke at length with someone in the peanut business. Peanuts being an indigenous crop of the South, and one of my favorite snacks, I took the opportunity to pepper the hapless businessman with question after question. I came away knowing all that there is to know about the growing, harvesting, and processing of peanuts. Well, more than I knew when I started, anyway. I was reminded of that night as I worked for the first time with "peanut butter" epoxy.
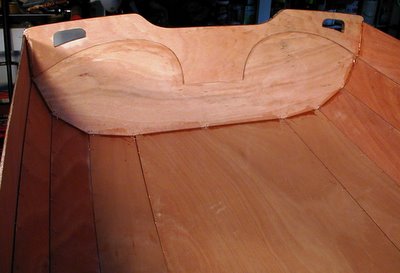
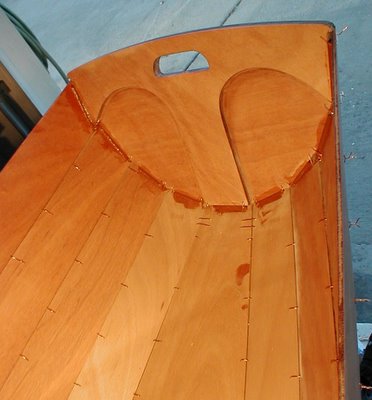
But first, the transoms were stitched in place. The instruction book mentions that a builder should expect to break a few wires getting the pieces into place. And despite a flawless start, I did indeed snap a few wire stitches before I was done. The most difficult part of the installation, it seems, comes at the end, when the last little bit is being aligned and pushed into place. This is where the parts sometimes need a little "persuasion" to make all the joints snug, and coincidentally this is when the tension on the wires is at the highest. But after some effort, all the joints looked snug and correctly aligned. So then it was time for the peanut butter.
For the joining of two parts at a right angle, the standard epoxy mix is thickened with "wood flour", or very fine sawdust. The final consistency needed is that of peanut butter, which allows the epoxy to be applied in beads which fill the joints and wont run before it cures. I followed the tip from the book, and put the thickened epoxy into a plastic bag with one corner snipped off. This allowed it to be handled like a pastry piping bag- something with which I am familiar. So a short bead was applied to the transoms between the wire stitches to "tack weld" the parts in place. After curing, the wires can be removed, and the joints are filled in with a neat bead, or fillet. Total hours 29.00.

0 komentar:
Posting Komentar